Are you ready to hit the road for your next adventure but worried about cramming all your gear into your vehicle? A roof box is the perfect solution, but only if installed correctly. In this comprehensive guide, we’ll walk you through the essential steps on How to Install a Roof Box the Right Way, safe, and ready for any journey. Let’s dive in and transform you into a roof box installation expert!
Picture this: You’re all set for an epic road trip, bags packed, snacks ready, but as you survey your car, a sinking feeling hits. How on earth will you fit everything? Enter the roof box – your ticket to stress-free packing and travel. But here’s the catch – a poorly installed roof box can turn your dream vacation into a nightmare faster than you can say “Are we there yet?” Don’t worry, though. We’ve got your back with this foolproof guide to installing your roof box like a seasoned pro.
Why Installing a Roof Box Correctly is Important
First things first, why does it matter if your roof box is installed correctly? The answer is simple: safety and efficiency. An improperly installed roof box can lead to a range of issues, from poor fuel efficiency to severe accidents. Here are a few key reasons why you should prioritize correct installation:
- Safety: A secure roof box prevents your cargo from shifting or falling off, reducing the risk of accidents.
- Fuel Efficiency: Proper installation minimizes drag, which can save you money at the pump.
- Longevity: Correct installation helps protect both your roof box and your vehicle from unnecessary wear and tear.


Step-by-Step Guide to Installing Your Roof Box
Now, let’s dive into the actual installation process. Follow these steps to ensure your roof box is securely and correctly installed.
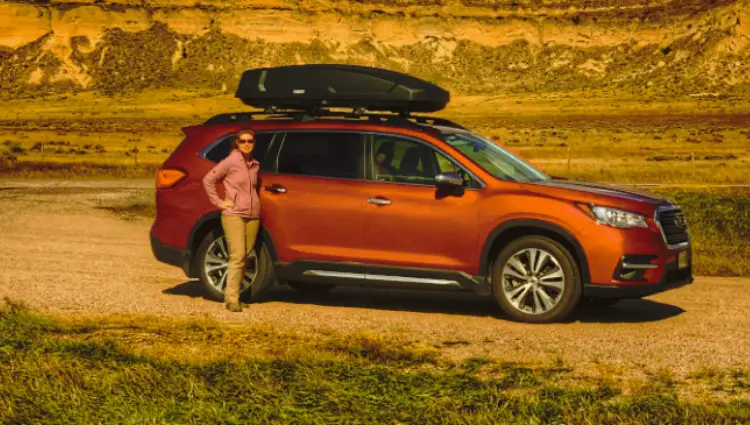
Step 1: Choose the Right Roof Box
Before you even think about installation, make sure you have the right roof box for your vehicle. Consider factors like the size of your vehicle, the type of items you’ll be carrying, and how often you plan to use the roof box. Pro Tip: Ensure that the roof box is compatible with your car’s roof rack system.
- Size: Measure your car’s roof and choose a box that fits comfortably.
- Weight capacity: Check your vehicle’s manual for maximum roof load.
- Compatibility: Ensure the box works with your existing roof rack system.
- Opening mechanism: Side-opening boxes are easier to access when installed.
Pro tip: Opt for a aerodynamic design to minimize fuel consumption and noise.
Step 2: Gather Your Tools
Nothing’s worse than starting a job and realizing you’re missing crucial tools. Here’s what you’ll need:
- Your roof box (obviously!)
- Roof rack or crossbars (if not already installed)
- Installation instructions (specific to your model)
- Wrench or socket set
- Measuring tape
- Helper (optional, but recommended)
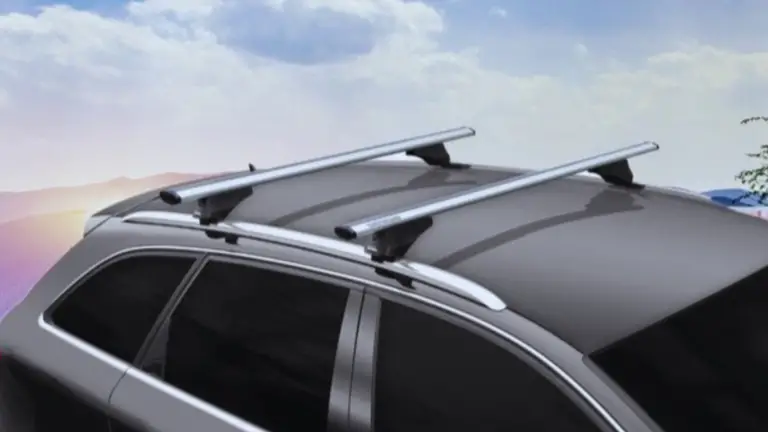
- Install or Check Your Roof Rack:
A solid foundation is crucial. If you don’t already have a roof rack:
- Follow your vehicle’s manual to install the rack correctly.
- Ensure it’s level and securely fastened.
- Double-check weight limits – remember, this includes the box and its contents!
For those with existing racks:
- Inspect for any damage or loose fittings.
- Tighten all bolts and clamps.
- Clean the bars to ensure a good grip for the box.
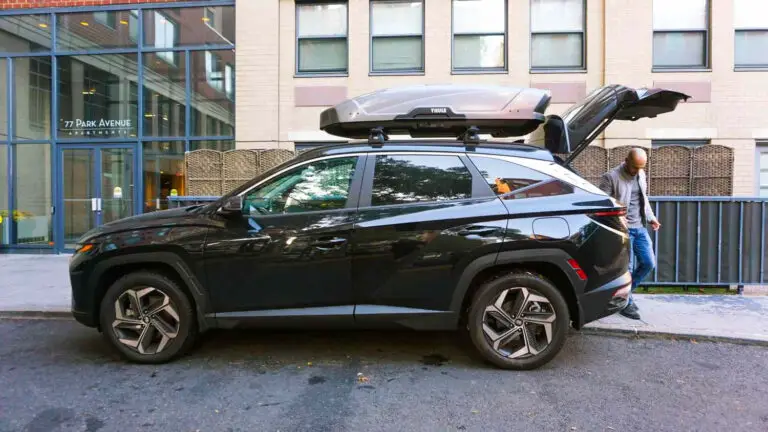
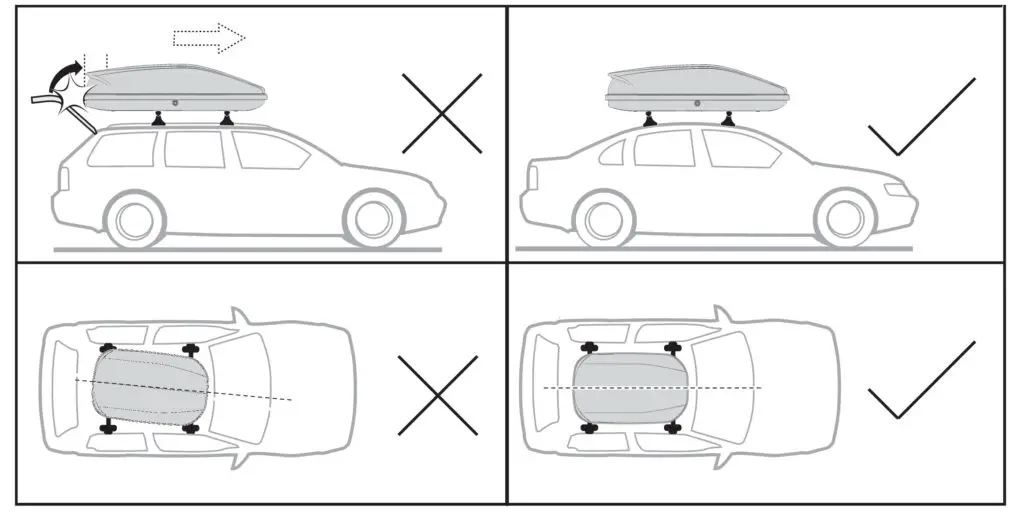
- Position Your Roof Box:
This step can make or break your installation. Here’s how to nail it:
- Center the box on your roof rack for optimal weight distribution.
- Ensure there’s no interference with your trunk or sunroof opening.
- For hatchbacks, position the box slightly forward to avoid contact when the trunk is open.
Remember: A well-positioned box improves aerodynamics and reduces noise.
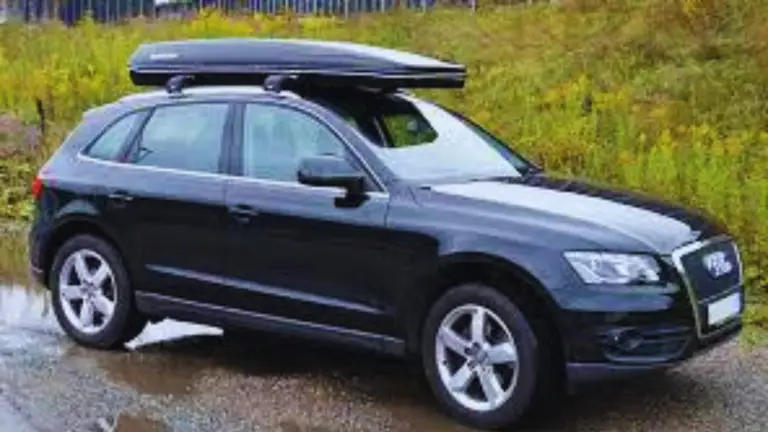
Step 3: Position the Roof Box on Your Vehicle
Start by placing the roof box on top of your vehicle’s roof rack. It’s best to have someone assist you with this step, as roof boxes can be bulky and heavy. Make sure the box is centered on the roof and positioned evenly between the front and rear bars of the roof rack.
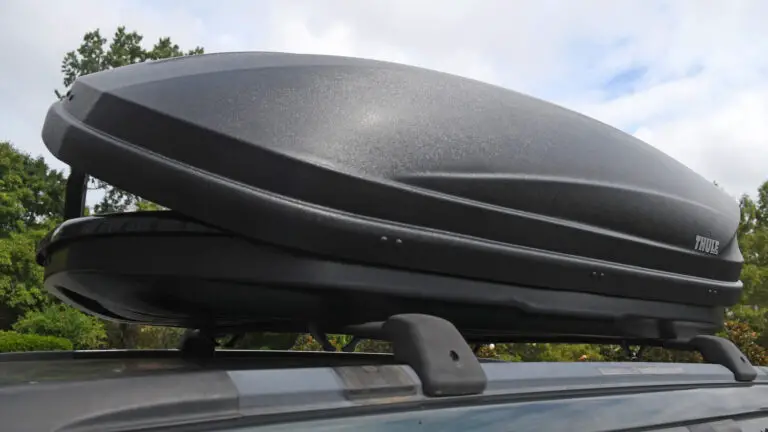
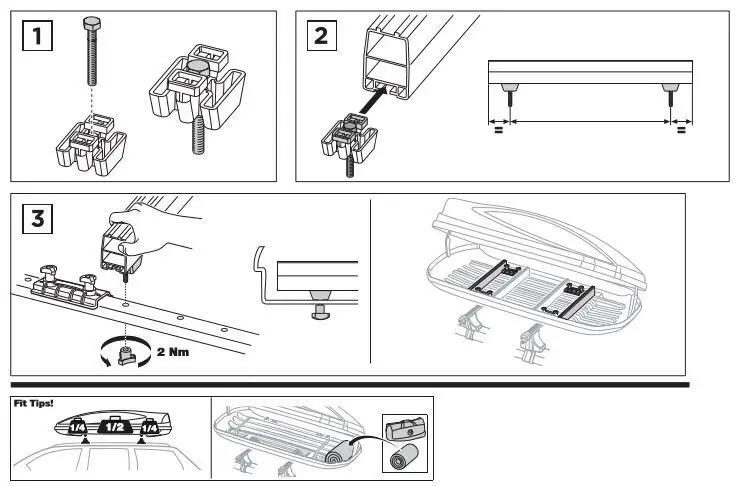
Step 4: Secure the Box
Now for the crucial part – attaching your box securely:
- Open the box and locate the mounting points.
- Align these with your roof rack’s crossbars.
- Follow your specific model’s instructions for attaching U-bolts or clamps.
- Tighten all fittings gradually, moving from one to another to ensure even pressure.
Pro tip: Don’t over-tighten! You might damage the box or your vehicle’s roof.
Step 5: Test for Stability
Before you start loading up, let’s make sure everything’s rock solid:
- Gently push and pull the box from different angles.
- Listen for any rattling or movement.
- Check all attachment points again.
- Take a short test drive, listening for any unusual noises.
- Load It Up:
You’re almost there! Follow these tips for optimal loading:
- Distribute weight evenly, with heavier items in the center.
- Don’t exceed the box’s weight limit or your vehicle’s roof capacity.
- Use soft bags or padding to prevent items from shifting.
- Secure any loose items to prevent rattling.
FAQs: How to Install a Roof Box the Right Way
Q: How often should I check my roof box’s installation?
A: It’s a good idea to check the tightness of all fittings before each trip and periodically during long journeys.
Q: Can I install a roof box without a helper?
A: While it’s possible, having a helper makes the process much easier and safer, especially with larger boxes.
Q: Will a roof box significantly affect my fuel consumption?
A: You may notice a slight increase in fuel consumption, but choosing an aerodynamic design and removing the box when not in use can minimize this impact.
Q: Can I use my car wash with a roof box installed?
A: It’s best to remove the roof box before going through an automatic car wash to prevent damage.
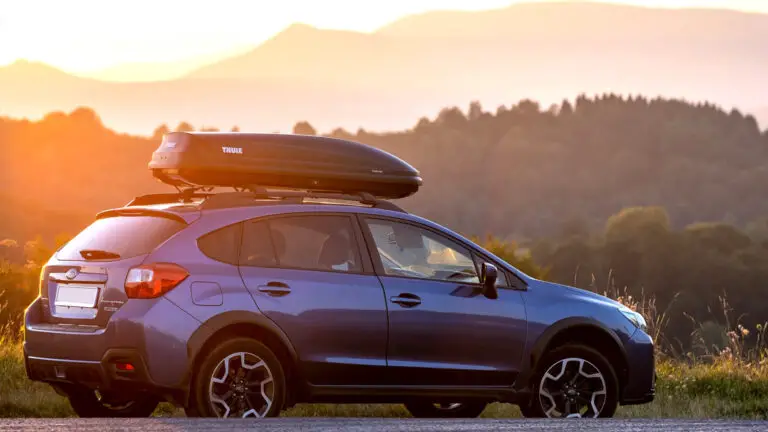
What is a roof box and why do I need one?
A roof box, also known as a cargo box or rooftop cargo carrier, is an enclosed storage solution mounted on the roof of your vehicle. It provides additional space for luggage, sports equipment, or any other items that you might not have enough room for inside your vehicle. Using a roof box can help keep your vehicle organized and free up space for passengers, making it an essential accessory for long trips or outdoor adventures.
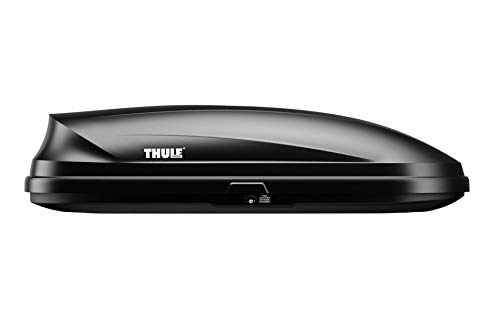
What are the different types of roof boxes available?
There are several types of roof boxes available, including those designed for specific purposes like ski or snowboard transport, and general-purpose models. Some roof boxes are made from durable materials like aluminum and are aerodynamically designed to reduce wind resistance. Choosing the right type often depends on your specific needs, the type of items you plan to transport, and the compatibility with your roof rack system.
How do I choose the right roof box for my vehicle?
When selecting a roof box, consider the size and weight capacity that your vehicle can handle. Check the specifications of your roof rack or roof rail system to ensure that the roof box you choose is compatible. Additionally, think about what you will be using it for; for example, if you plan to transport ski or kayak equipment, look for a model that offers specific features for those activities.
How do I install a roof box on my roof rack?
To install a roof box, first, you need to ensure that your roof rack or roof rails are properly installed. Next, position the roof box on top of the roof rack and align it with the crossbars. Use the provided mounting hardware to securely attach the box to the crossbar or rail. Make sure to tighten all screws and clamps according to the manufacturer’s instructions to ensure everything is secure.
Do I need any special tools to install a roof box?
Most roof boxes come with the necessary mounting hardware and tools for installation. However, you may need a basic toolkit that includes a screwdriver , adjustable wrench, and possibly a torque wrench to ensure that everything is securely fastened. Before you begin the installation, it’s essential to read the manufacturer’s instructions carefully, as each roof box may have specific requirements or recommendations for mounting.
Conclusion: How to Install a Roof Box
Congratulations! You’re now equipped with expert knowledge on how to install your roof box like a pro. By following these seven steps, you’ve ensured your gear is secure, your vehicle is safe, and you’re ready for whatever adventure lies ahead. Remember, a properly installed roof box isn’t just about extra space – it’s about peace of mind on the road. So pack up, hit the highway, and enjoy the freedom that comes with knowing you’ve mastered the art of roof box installation. Happy travels!