You may think building a DIY rooftop tent is too complex or time-consuming, but with a clear plan and the right materials, it's definitely achievable. Before you start, consider your vehicle's roof size and weight capacity to guarantee a secure and functional design. Breaking down the process into seven manageable steps can make the project feel less overwhelming. With the right tools and materials at hand, you can create a comfortable and durable rooftop tent that suits your needs. But what are those steps, and where do you even begin?
Key Takeaways
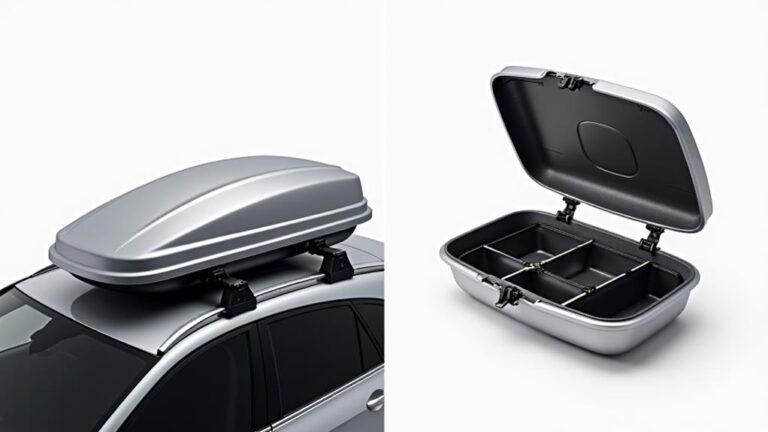
- Plan your design, measuring vehicle roof dimensions and considering weight capacity, obstructions, and desired features.
- Source materials meeting the design requirements, including waterproof and UV-resistant fabric and necessary tools.
- Construct the frame using aluminum or steel framing materials and assemble side rails, corner brackets, and roof curves.
- Attach the fabric to the frame using a suitable method, ensuring a watertight seal and durable construction.
- Install windows, ventilation systems, and a ladder, considering factors like natural light, cross-ventilation, and weather resistance.
Plan Your Rooftop Tent Design
Space constraints are also vital to ponder.
Measure your vehicle's roof to determine the maximum size of your tent. Think about the height and width of the tent, as well as any obstructions like roof racks or antennas.
You'll also need to ponder the weight capacity of your vehicle's roof and the structural integrity of the tent itself. Make a sketch or drawing of your design, taking into account these constraints and your desired features.
This will help you visualize your design and make any necessary adjustments before moving forward.
Gather Necessary Materials and Tools
With your design finalized, it's now time to gather the necessary materials and tools to bring your DIY rooftop tent to life.
Material sourcing is vital in this process. Make a list of the required materials, including fabric, foam insulation, aluminum or steel framing, waterproof zippers, and any additional features you've incorporated into your design.
Verify you source materials that meet the specified requirements for your design. For instance, choose fabric that's waterproof and UV-resistant.
Tool organization is also essential. Gather the necessary tools, including a sewing machine, drill press, jigsaw, and rivet gun.
Verify you have the correct drill bits and jigsaw blades for the materials you'll be working with. Additionally, have a set of basic hand tools, such as wrenches, pliers, and screwdrivers.
Organize your tools in a logical and accessible manner to streamline your workflow. Consider investing in a toolbox or storage system to keep your tools tidy and within reach.
Build the Roof Top Frame
You'll begin building the rooftop frame by cutting the aluminum or steel framing materials to the required lengths.
Use a miter saw or a hacksaw to achieve precise cuts. Consider the frame styles you want for your rooftop tent, such as a clamshell or a fold-out design. Each style has its unique characteristics and requirements.
- Decide on the roof curves and calculate the necessary framing materials to achieve the desired shape.
- Cut the corner brackets and attach them to the frame using bolts or rivets.
- Assemble the frame's side rails and attach them to the corner brackets.
- Use a level to verify the frame is level and plumb.
- Double-check the frame's dimensions to confirm they match your design specifications.
When assembling the frame, pay attention to the roof curves and confirm they're even and symmetrical.
You can use a template or a jig to achieve the desired shape.
Use clamps to hold the frame in place while you attach the corner brackets and side rails.
Make sure all connections are secure and tightened properly to prevent any structural issues.
Attach Waterproof Fabric and Walls
To attach waterproof fabric to your rooftop tent frame, you'll need to choose a suitable attachment method, such as sewing, gluing, or using a combination of both.
Consider using a waterproof and UV-resistant fabric, like polyester or nylon, and guarantee it's sized to fit snugly over the frame with a slight overhang for wall attachments.
When constructing the walls, you'll need to decide on a technique, such as using a single-layer design or a more complex multi-layer setup with insulation and breathable membranes.
Fabric Attachment Methods
As you shift from the frame assembly to the fabric attachment phase, securing the waterproof fabric and walls is crucial for a weather-tight seal and structural integrity.
To achieve this, you'll need to decide on a suitable fabric attachment method. There are several options available, including fabric bonding, adhesive strips, and mechanical fasteners.
When choosing a fabric attachment method, consider factors such as durability, ease of installation, and weather resistance.
- Fabric Bonding: Use a strong adhesive to bond the fabric directly to the frame. This method provides a seamless, watertight seal but can be challenging to install.
- Adhesive Strips: Apply adhesive strips to the frame and attach the fabric. This method is easier to install than fabric bonding but may not provide the same level of durability.
- Mechanical Fasteners: Use screws, rivets, or clips to attach the fabric to the frame. This method is easy to install but may compromise the weather-tight seal.
- Tape and Glue: Combine tape and glue to attach the fabric. This method is easy to install but may not be as durable as other options.
- Sleeves and Channels: Use sleeves and channels to attach the fabric to the frame. This method provides a secure and weather-tight seal but can be more complex to install.
Wall Construction Techniques
Most rooftop tents feature four walls that must be securely attached to the frame to guarantee a weather-tight seal.
To achieve this, you'll need to focus on wall framing techniques that provide stability and support. Start by constructing a rectangular frame using aluminum or fiberglass poles, verifying they're securely attached to the roof rack or base frame.
Use corner connectors to reinforce the joints and provide additional stability.
When attaching the waterproof fabric to the frame, use a combination of stitching and adhesive to guarantee a watertight seal.
Apply a bead of silicone sealant to the frame's edges before attaching the fabric, and then stitch the fabric in place using a waterproof thread.
Corner detailing is vital to prevent water from seeping in. Use reinforced tape or fabric patches to cover the stitching and verify a seamless seal.
Make sure the walls are securely attached to the frame, with no gaps or openings that could compromise the tent's weather-tight seal.
Add Windows and Ventilation Systems
A well-designed rooftop tent typically features several windows and ventilation systems, allowing for ideal airflow, visibility, and comfort.
As you add these features to your DIY rooftop tent, consider the following factors to guarantee a functional and enjoyable space.
Window placement is vital in providing natural light and ventilation.
You'll want to install windows on opposite sides of the tent to facilitate cross-ventilation, which helps to reduce condensation and maintain a comfortable temperature.
For ventilation options, consider the following:
- Install windows with mesh panels to allow for airflow while keeping insects out.
- Add a roof vent to provide additional airflow and reduce moisture buildup.
- Incorporate a screen door to enhance ventilation and provide easy access to the tent.
- Use a breathable fabric for the tent's walls and floor to improve airflow and reduce condensation.
- Consider installing a ventilation fan to improve airflow and reduce moisture buildup.
When selecting windows and ventilation systems, choose durable and water-resistant materials to guarantee the longevity of your rooftop tent.
Proper installation and maintenance are also essential in guaranteeing the ventilation systems function effectively.
Install Ladder and Support System
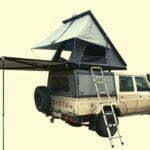
You'll need to choose a ladder that's sturdy, weather-resistant, and suitable for the height of your rooftop tent.
When selecting a ladder, consider the material, weight capacity, and extension length to guarantee it meets your specific needs.
Next, you'll install the support system, which typically consists of a mounting bracket and straps that secure the ladder to the tent and your vehicle.
Ladder Selection Guidelines
Selecting the right ladder for your DIY rooftop tent is critical to guaranteeing safe and convenient access to the tent.
You'll need a ladder that can withstand the elements and support your weight.
When choosing a ladder, consider the following factors to guarantee you get the right one for your DIY rooftop tent:
* Ladder materials: Look for ladders made from durable, weather-resistant materials like aluminum or fiberglass.
These materials can withstand the elements and are resistant to corrosion.
- Ladder durability: Assess the ladder's weight capacity and guarantee it can support your weight and any additional loads you may need to carry.
- Ladder type: Consider a ladder with adjustable height settings to accommodate different vehicle heights.
- Step design: Choose a ladder with slip-resistant steps to prevent accidents.
- Certifications: Opt for a ladder that meets safety certifications like ANSI or OSHA to guarantee it meets safety standards.
Support System Installation
Installing the support system for your DIY rooftop tent involves securing the ladder and verifying its stability.
This is a critical step that requires attention to detail to guarantee the safety and functionality of your tent.
Start by attaching the ladder to the roof rails of your vehicle using ladder mounts or clamps. Make sure these mounts are specifically designed for your vehicle's roof rail system.
Next, install the tent anchorages on the roof of your vehicle.
These anchorages will serve as the base for your support system. Typically, they come in the form of hooks, brackets, or plates that are attached to the roof using screws or bolts.
Certify that the anchorages are securely attached and can withstand the weight of the tent and its occupants.
Once the anchorages are in place, attach the support system to the ladder and roof rails.
This may include additional components such as struts, poles, or guy lines.
Make sure all connections are secure and tightened properly to prevent any movement or shifting during use.
Final Assembly and Testing
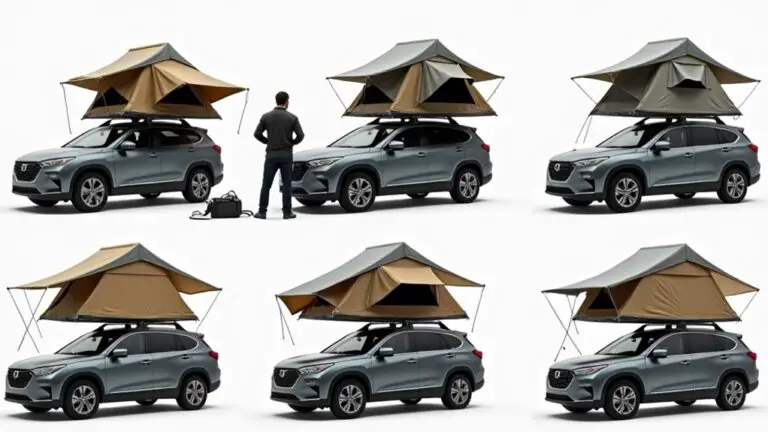
With your rooftop tent's components fabricated and prepared, now's the time to bring everything together for final assembly and testing.
Begin by attaching the walls and floor to the support system, guaranteeing a secure and watertight seal. Double-check the stitching, seams, and any bonded joints for signs of weakness.
Next, install the roof, taking care to properly align and secure it to the walls.
Conduct final checks on the entire structure, paying particular attention to:
- Zippers and closures for smooth operation
- Seams and stitching for signs of stress or weakness
- Fabric for any damage or wear
- Weather resistance, including UV protection and waterproof coatings
- Attachment points for secure fastening to your vehicle
Perform a dry test of the tent, setting it up and taking it down to verify all components function as intended.
This also helps identify any potential issues before they become major problems. Once satisfied with the assembly and testing, your DIY rooftop tent is ready for use.
Frequently Asked Questions
Can I Install a Rooftop Tent on Any Vehicle Type?
You'll need to check your vehicle's compatibility and verify its roof can support the tent's weight capacity before installation. Most tents fit on SUVs, trucks, and vans, but smaller vehicles might require additional support.
How Do I Maintain My DIY Rooftop Tent's Waterproofing?
You're just one rainstorm away from disaster if your waterproofing fails. Regularly inspect your tent's seams and apply a waterproof coating as needed. Replace worn-out sealing strips to prevent leaks and guarantee a dry interior.
Are Rooftop Tents Suitable for Extreme Weather Conditions?
You should assess rooftop tents' weather resistance and storm preparedness if you plan to use them in extreme conditions. Look for reinforced seams, waterproof materials, and robust anchoring systems to guarantee stability.
Can I Customize My Rooftop Tent's Interior Layout?
Designing your rooftop tent's interior layout is like tailoring a bespoke suit – it's all about you. You can customize the space with custom storage solutions and personalized decor options, reflecting your unique camping style and needs.
Are DIY Rooftop Tents More Cost-Effective Than Store-Bought Options?
You'll find DIY rooftop tents can be cost-effective, but a budget comparison requires a detailed cost analysis. Calculate materials, tools, and labor costs, then compare them to store-bought options to determine the best value for your money.
Conclusion
With your DIY rooftop tent complete, it's now a sturdy haven perched atop your vehicle, ready to shield you from the elements. Like a puzzle, each carefully chosen piece has fallen into place, forming a robust and weather-tight sanctuary. Having overcome the challenges of its creation, you can now set out on adventures with confidence, knowing your rooftop retreat will provide a comfortable refuge from the wild.